Exposure 101
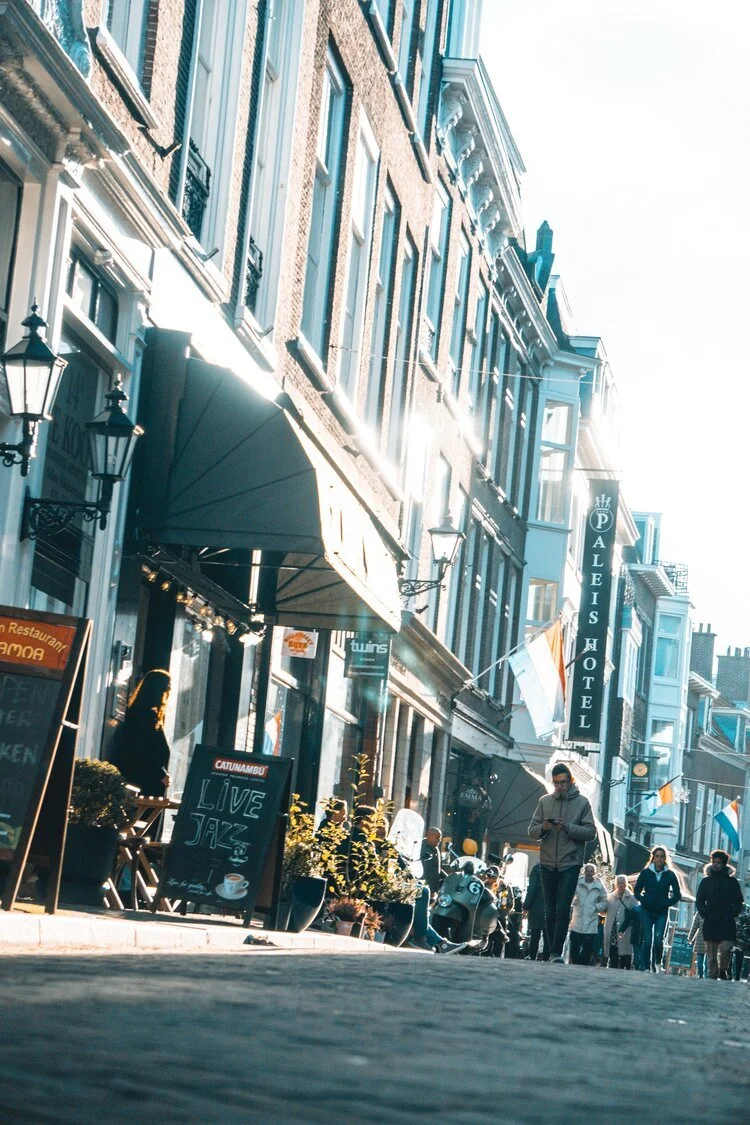
Exposure is one of the foundational concepts in photography, and it refers to the amount of light that reaches the camera sensor when taking a photograph. Proper exposure ensures that an image is bright enough to see clearly while preserving detail and dynamic range. When the exposure is too low or too high, the photo can become over or underexposed, making it difficult or impossible to capture the image's intended detail.
One common problem that photographers face is blown-out or over-exposed images, where part of the scene is too bright, and the camera sensor cannot capture the detail. There are a few strategies photographers can use to avoid this problem.
1. Use Camera Settings to Control Exposure
One of the easiest ways to control exposure is by manually adjusting the camera’s settings before taking a shot. Most digital cameras come with three primary controls that can be manually adjusted - shutter speed, aperture, and ISO - which can all affect the exposure of the photo.
Shutter speed controls how long the camera shutter stays open, and faster speeds will capture less light, while slower speeds will capture more light. By adjusting the shutter speed, a photographer can control the overall brightness of an image.
Aperture controls how much light passes through the camera lens and onto the sensor. A low aperture (around f/5.6) will allow more light into the lens, making the image brighter. Conversely, a higher aperture value (f/16, for example) will allow less light into the lens, making an image darker.
ISO sensitivity determines how sensitive the camera sensor is to light. The higher the ISO, the more sensitive the sensor is to light, which means that an image will be brighter. However, with higher ISO settings, the camera is more prone to create noisy (grainy) images.
2. Use Exposure Compensation to Adjust Exposure
Many digital cameras now include an option referred to as exposure compensation, which is a way to adjust exposure without changing the camera’s settings. Exposure compensation allows a photographer to brighten or darken the exposure by specific increments, making it easier to avoid over or under-exposure.
3. Use Filters to Control Light
Photography filters can be a great tool for controlling light, especially in outdoor or sunny situations. Polarizing filters, for example, can reduce glare and reflections, while neutral density filters' can help reduce light that is too intense.
Blown-out images can be frustrating for photographers, but understanding exposure controls can help prevent this from happening. By adjusting the camera’s settings to achieve proper exposure, carefully considering lighting conditions, and using photography filters, photographers can achieve well-balanced and exposed images that maintain their dynamic range and detail.


